Add Facebook Pixel to your forms and quizzes
Adding Facebook Pixel to your forms and quizzes is the best way for you to track conversion with your Facebook Ads and marketing efforts. Wispform currently supports integrating with Facebook Pixel via our Google Tag Manager integration. The setup is simple and it is one of the most common integration used by our advanced customers.
Integration with Facebook Pixel and Google Tag Manager are paid features. If you are on the basic tier, you will be prompted to upgrade to Wispform Pro or above for $20/month.
This tutorial includes two parts:
- Integrate with Facebook Pixel with Wispform through Google Tag manager
- Create action specific tags to track button conversion
Please follow the step by step guide and let us know if there are any issues or challenges by contacting us using the chat bubble on the bottom right.
Integrate with Facebook Pixel through Google Tag manager
Step 1: Create a Google Tag Manager Account
If you haven't already, create a Google Tag Manager account on their official website. Google Tag Manager is a free product that will allow you to not only integrate your forms with Facebook Pixel but also add custom code snippets and tracking pixels directly to your Wispform.
When you create your account, you will be prompted to create an account as well as a container. Each account can have multiple containers for you to separate. If you want to track multiple forms, we recommend you to create a container per form. Each container will have a unique GTM code that you can attach to your forms.
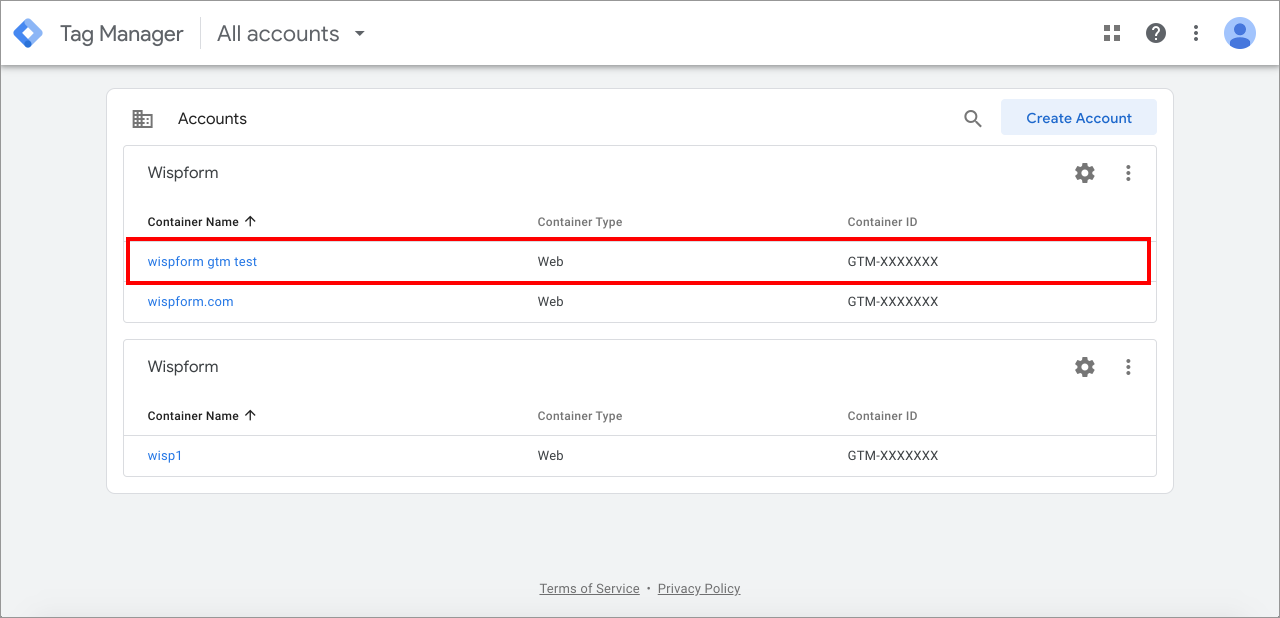
Step 2: Go into the container and copy the GTM code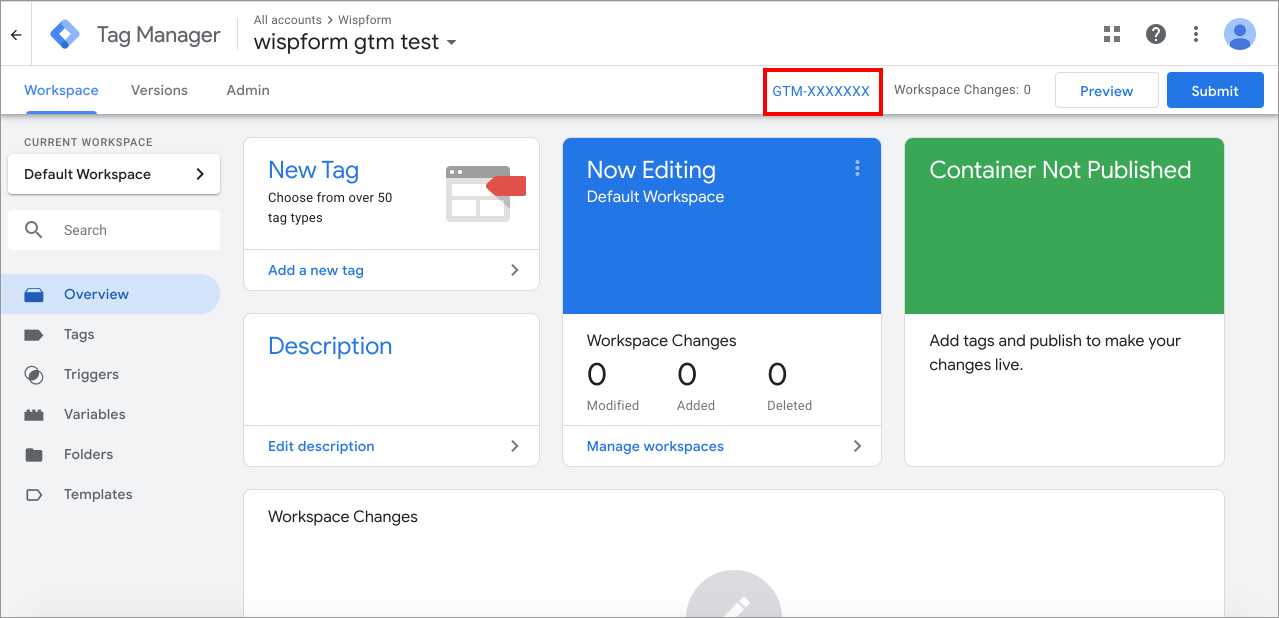
Step 3: Go to Your form's form builder > Integrate > Google Tag Manager and click "Add Tracking code"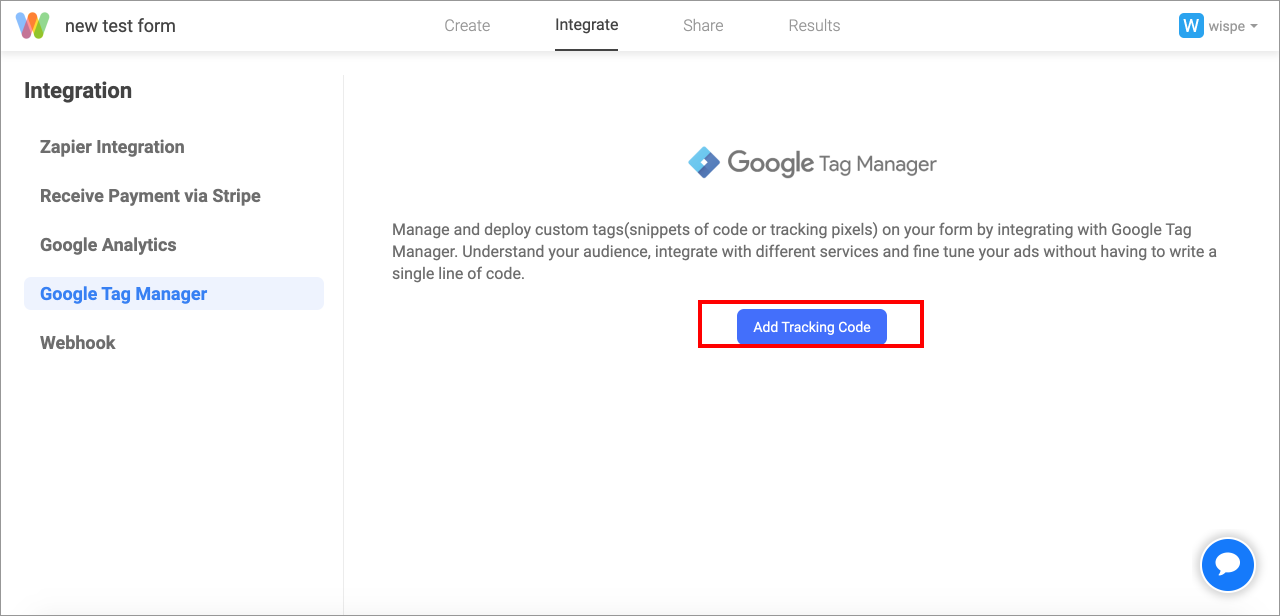
Step 3: Paste in the GTM code and hit "Connect with Google Tag Manager". NOTE: Make sure that there is no space before or after the GTM code.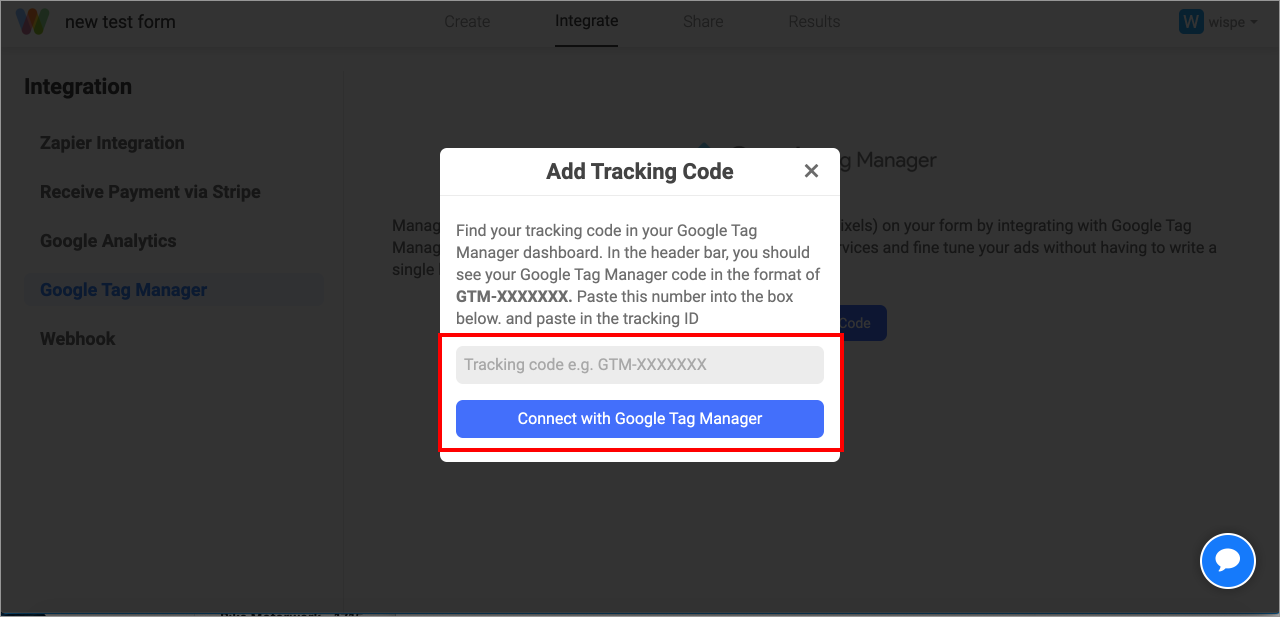
Step 4: Create a tag for your Facebook Pixel by going into Google Tag Manager > Tags and clicking "New"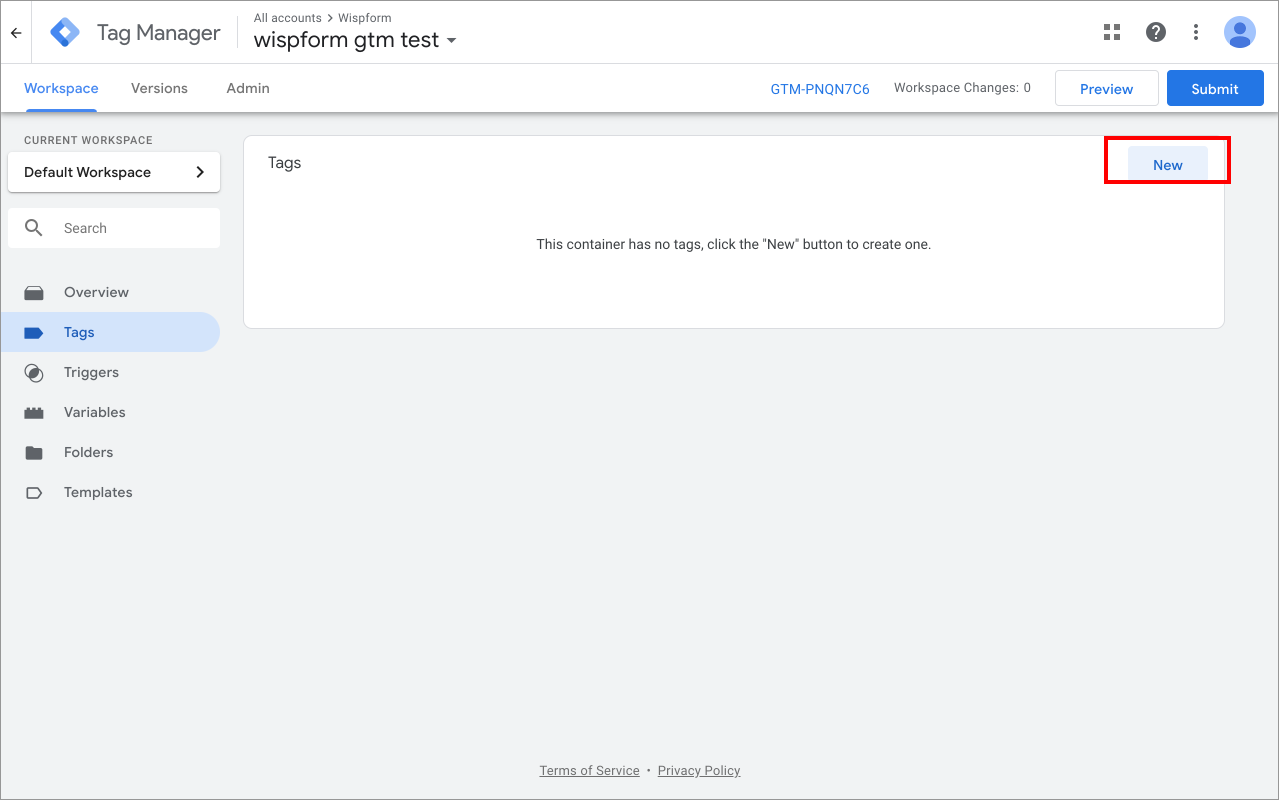
Step 5: First, click the first box to select a tag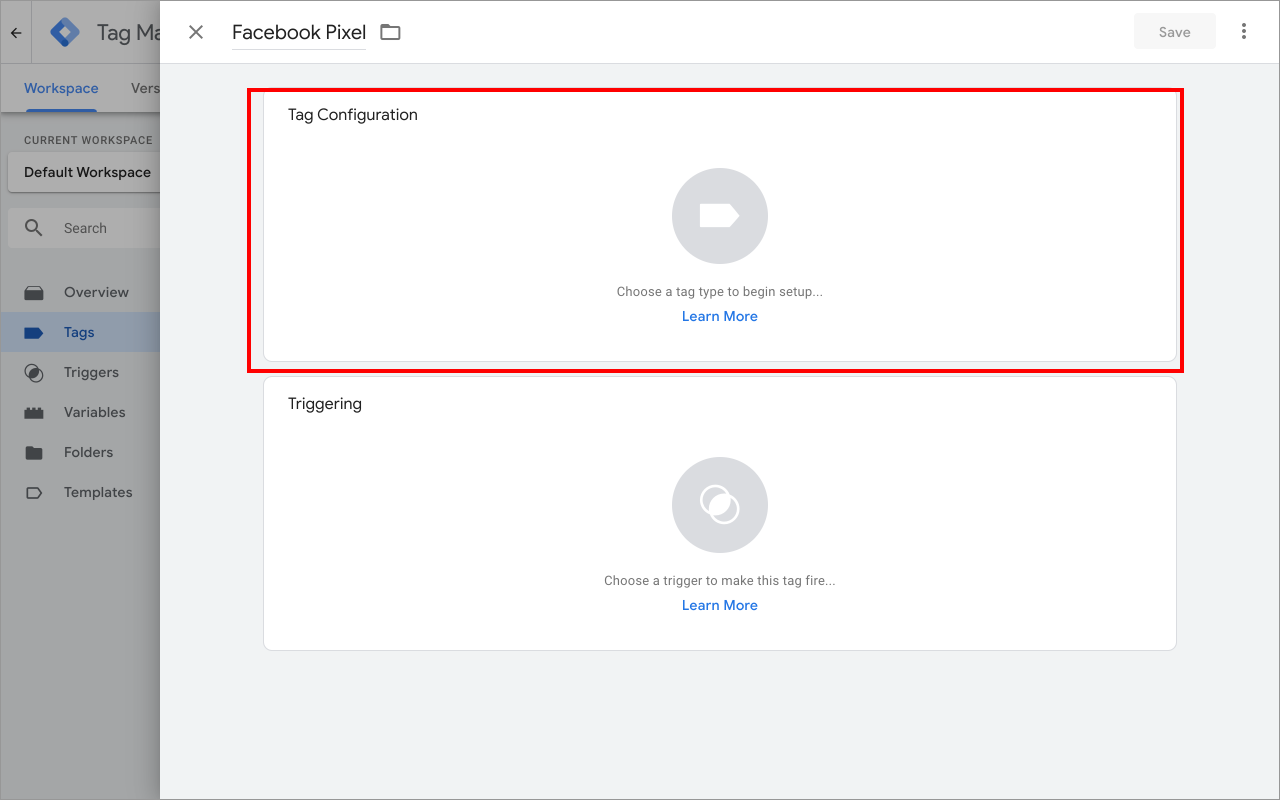
Step 6: Choose "Custom HTML" here in order to include Your Facebook Pixel
Step 7: Go to your Facebook Ads events manager to get the code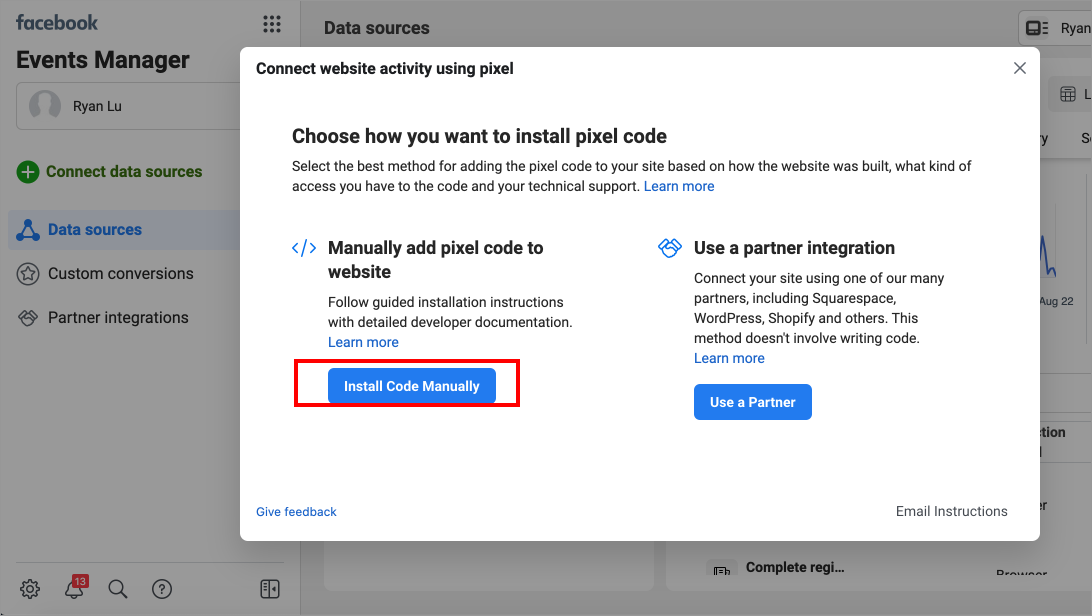
Step 8: Click "Copy code" to get the code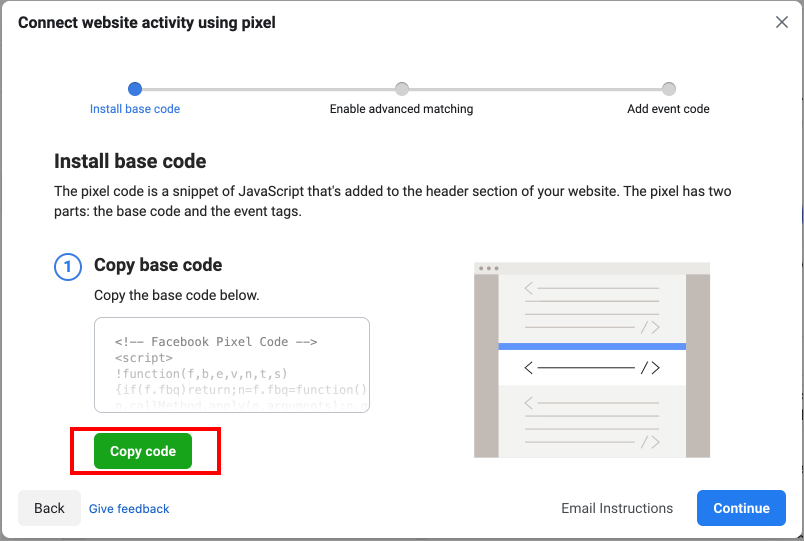
Step 9: Now go back to your Google Tag Manager and paste this code into the HTML editor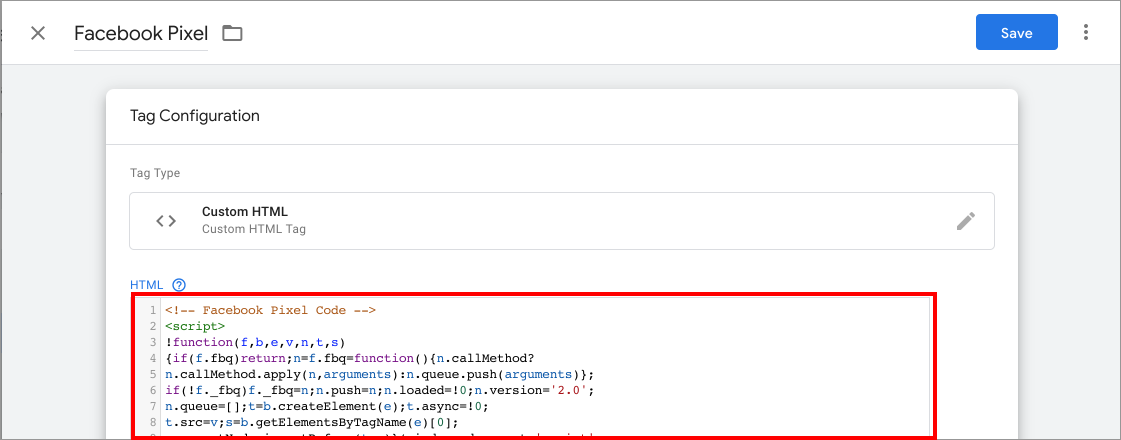
Step 10: In the advanced setting, you want to change the setting to "Once per page"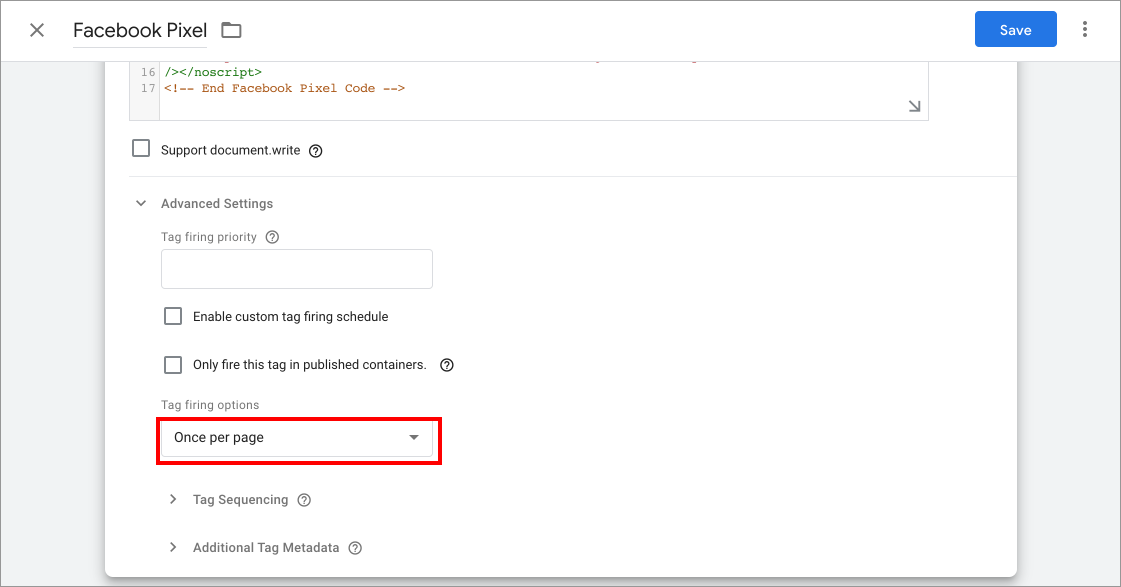
Step 11: Now scrolling down, you will be asked to select a trigger. Click on it and choose "All Pages". Then go ahead and save your tag.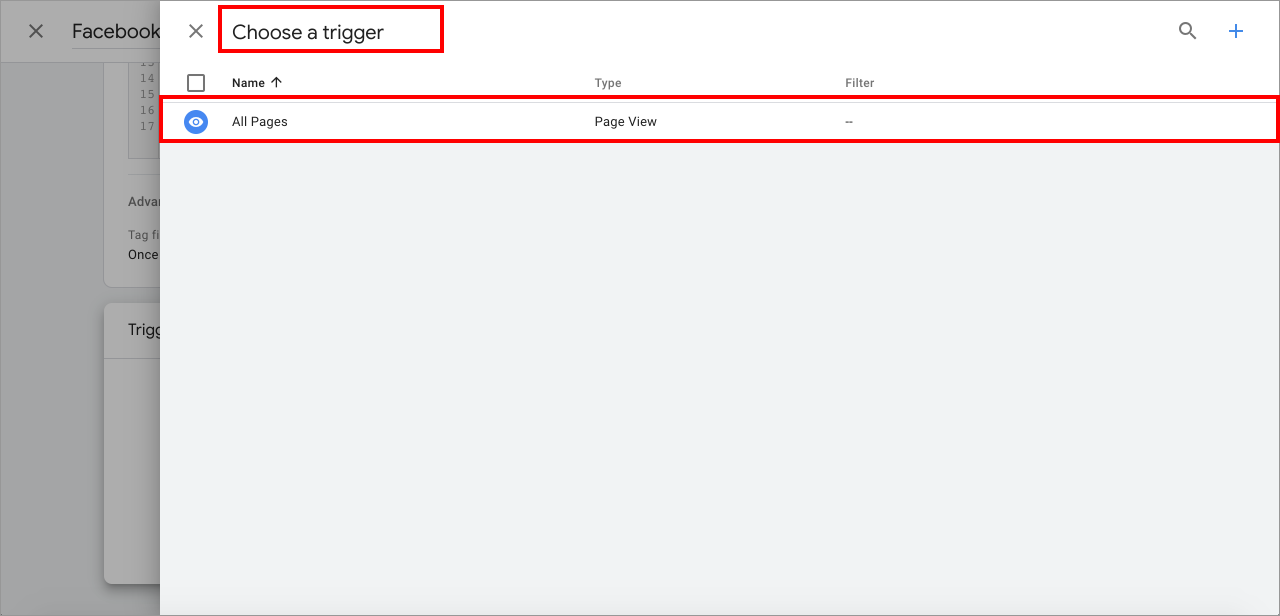
Step 12: Once you have finished creating your tag, hit submit to deploy this change to your Wispform.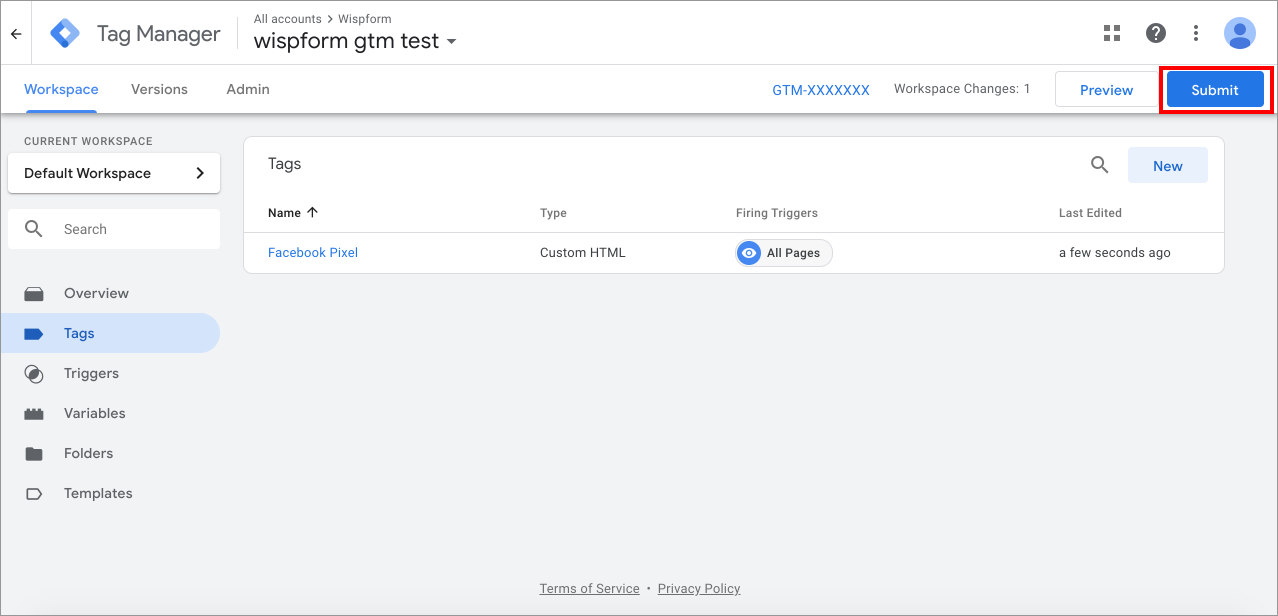
Step 13: There will be an additional screen asking about version number. Simply hit "Publish"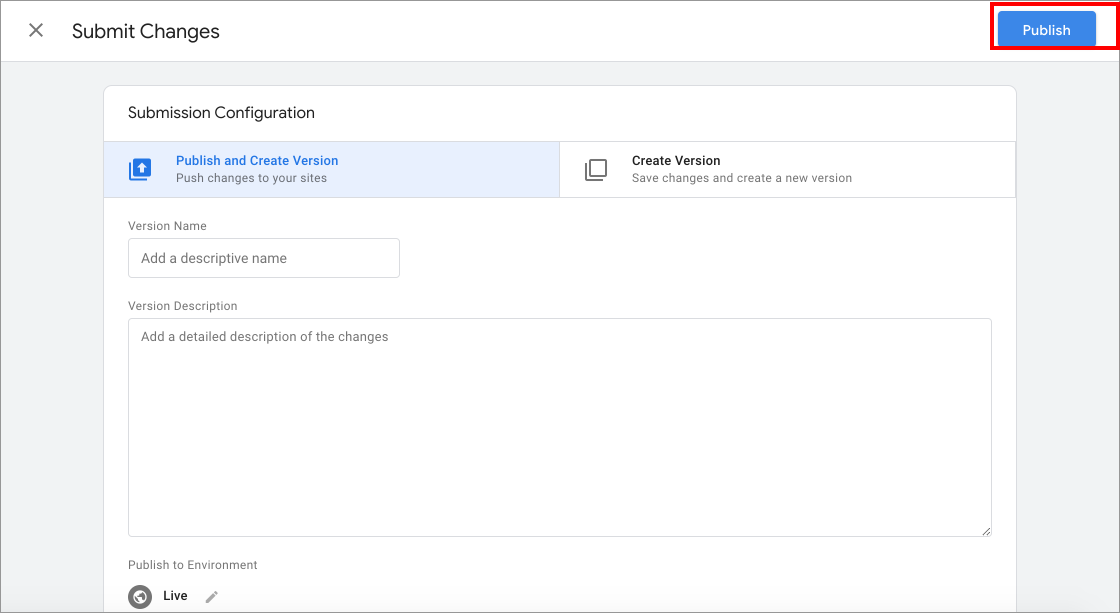
Congratulations! You have successfully set up your Facebook Pixel. It can now capture page views when people enter your Wispform. Next up, we will show you how to add specific action based trigger like clicking the submit button.
Create action specific tracking in your form
Now that you have added Facebook Pixel to your Wispform, you can easily set up action specific tracking for your events. In this example, we are going to show you how you can track conversion of people hitting the submit button.
Step 1: Go to your Facebook event manager and hit "Add events" > "From the Pixel". This will bring up the popup below where you can enter your form's URL and hit "Open Website".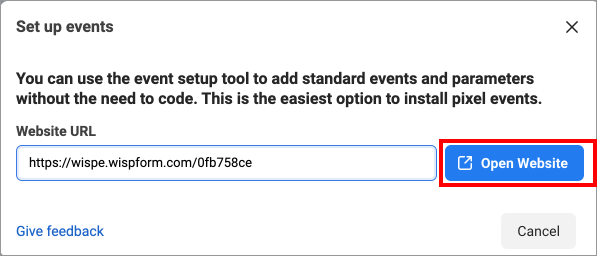
Step 2: This will open your form along with a popup to specify the action you would like to track. Scroll to the bottom of your form and hit the "Track new button" button.
Step 3: You want to select the Submit button and proceed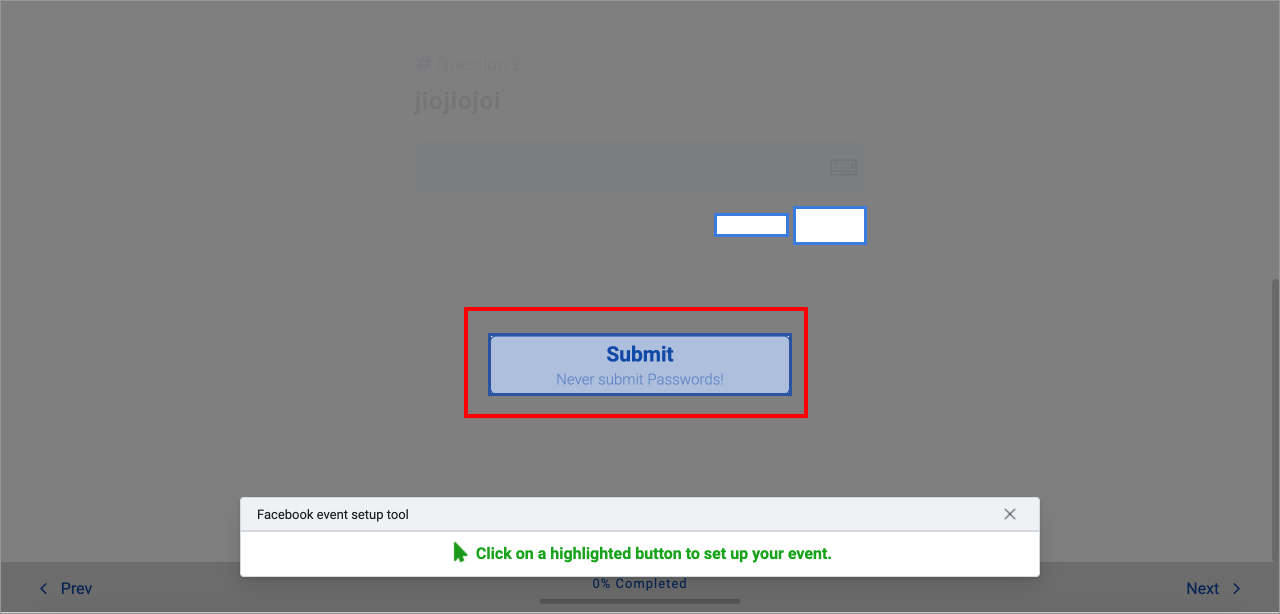
Step 4: Next, you will be asked to choose the event type. Based on how you would like to setup your Facebook ad, you can choose the specific events. We here chose the Lead type but feel free to set up what ever makes sense for your case.
Step 5: Once you confirm the previous step, you can hit the Finish setup button to end this setup. Your tracking is now working and you can use Facebook's testing tool to validate that clicking on this button would trigger an event on Facebook.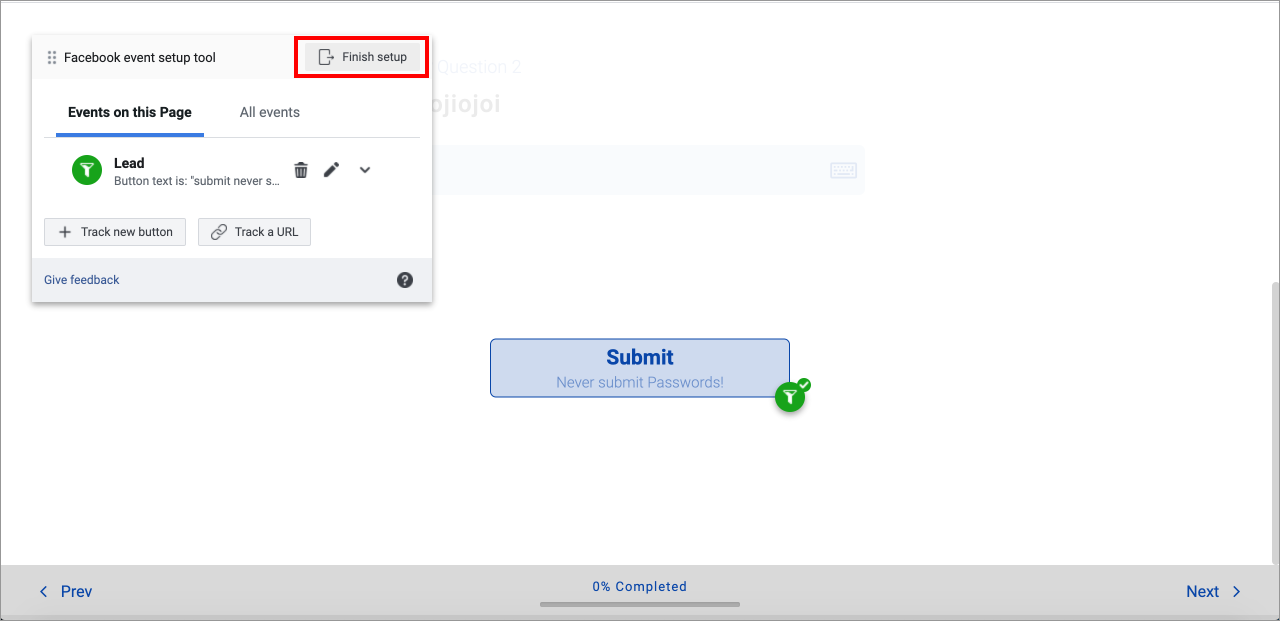
Thanks for going through this tutorial and hopefully this was helpful for you to setup your conversion tracking. If you encountered any issue or have any questions, feel free to reach out to us in the chat bubble on the bottom right of the screen.
Related Article