Use hidden fields to pass additional information through your form's URL
There are many situations where you already know something about your respondent or wishes to pass in additional information along with their response. Some of the common scenarios include:
- You already know a responder's name, email, and/or other personal information and don't want the responder to manually type these information in the form
- You want to identify where a particular response is coming from e.g. facebook, twitter, instagram
- You want to segment your responses for deeper analysis
Hidden fields is a paid feature. If you are on the basic tier, you will be prompted to upgrade to any of our paid plan for $10/month.
Follow the step by step guide below to get started with hidden fields.
Step 1: Create your form
Before creating any hidden fields, you will need to create your form first. If you want more information in this area, please follow our guide for creating a beautiful form or survey. In this example, we are creating a form with one single question asking the person to choose which option they prefer. We will use hidden field to pass in the person's name and email address.
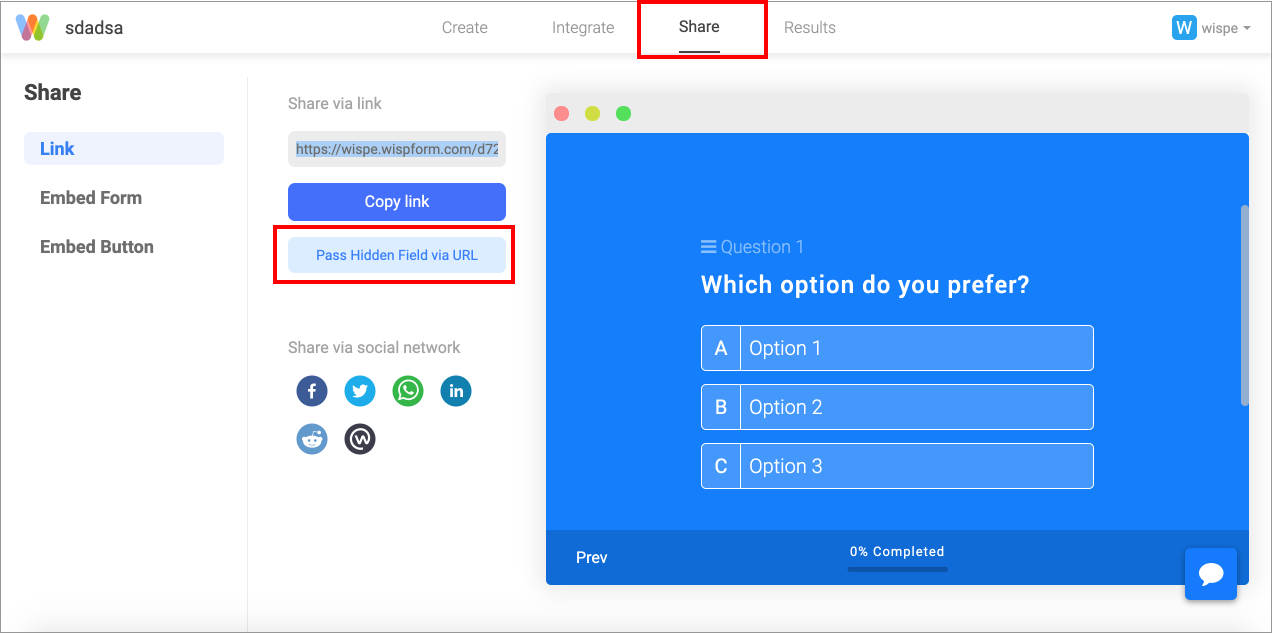
Step 2: Go to share page and open hidden field editor
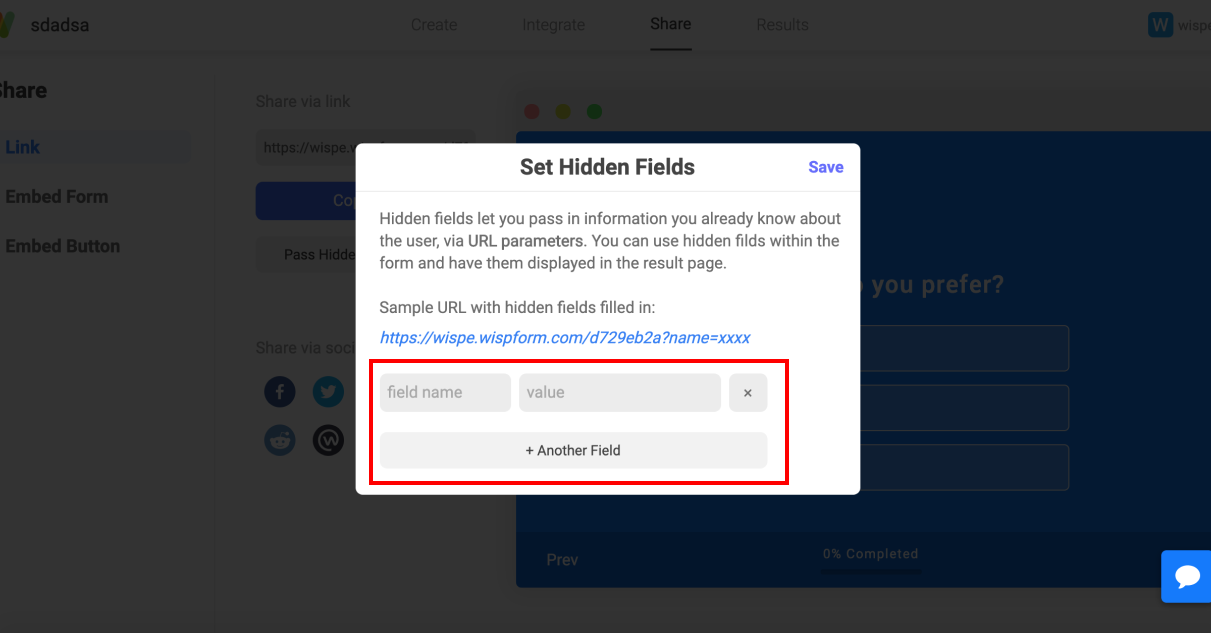
Step 3: Add hidden fields
Because we are trying to pass in the responder's name and email address we will need to enter in that information in the box below. The field names in this case is the name of the hidden field. In this example, the field names would be "name" and "email". The value is the actual value you want to send through the hidden field. In this example, the values could be "ryan" and "[email protected]" or whoever's contact information you want to enter.
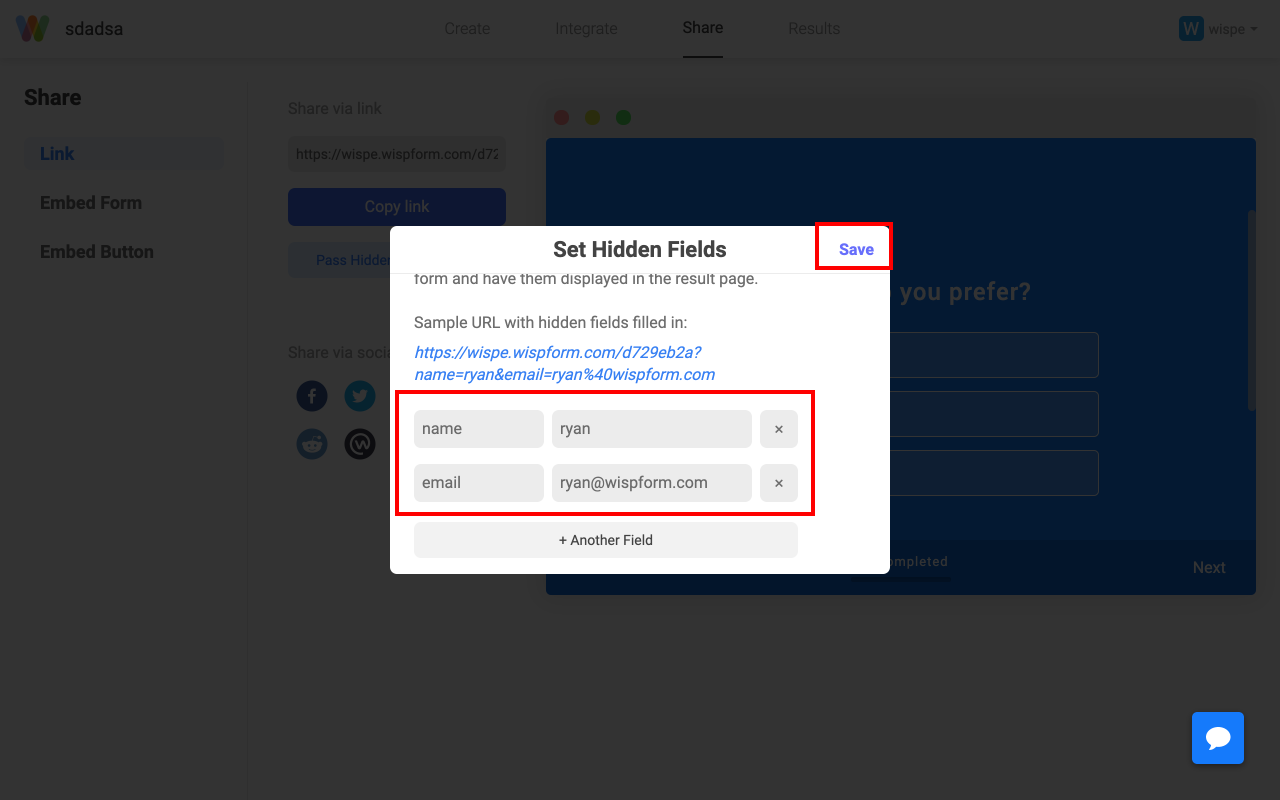
Step 4: Save the hidden fields
Once you have entered in the field name and the values, you can hit the save button to add the hidden fields.
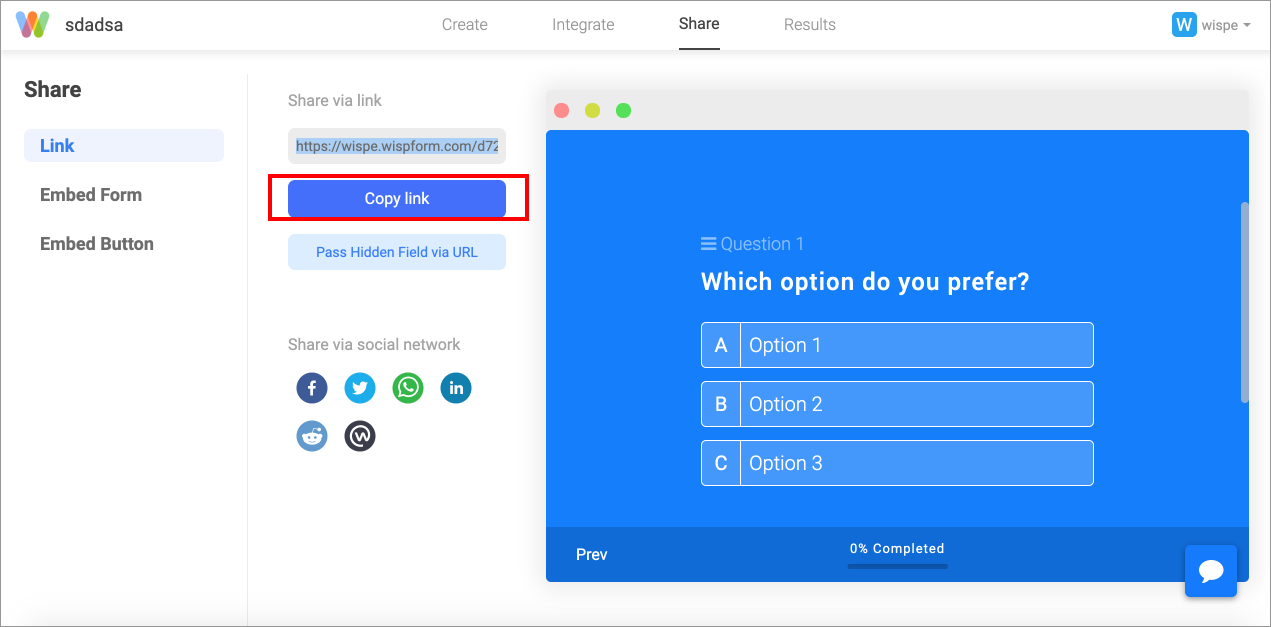
Step 5: Copy the URL and customize it
Now that hidden field is setup, you can go ahead and copy the URL from the share page. This will result in a URL like:
https://wispe.wispform.com/d729eb2a?name=ryan&email=ryan%40wispform.com
You can now customize this link for someone else. For example, if I was to send this to sarah, I would send her:
https://wispe.wispform.com/d729eb2a?name=sarah&email=sarah%40wispform.com
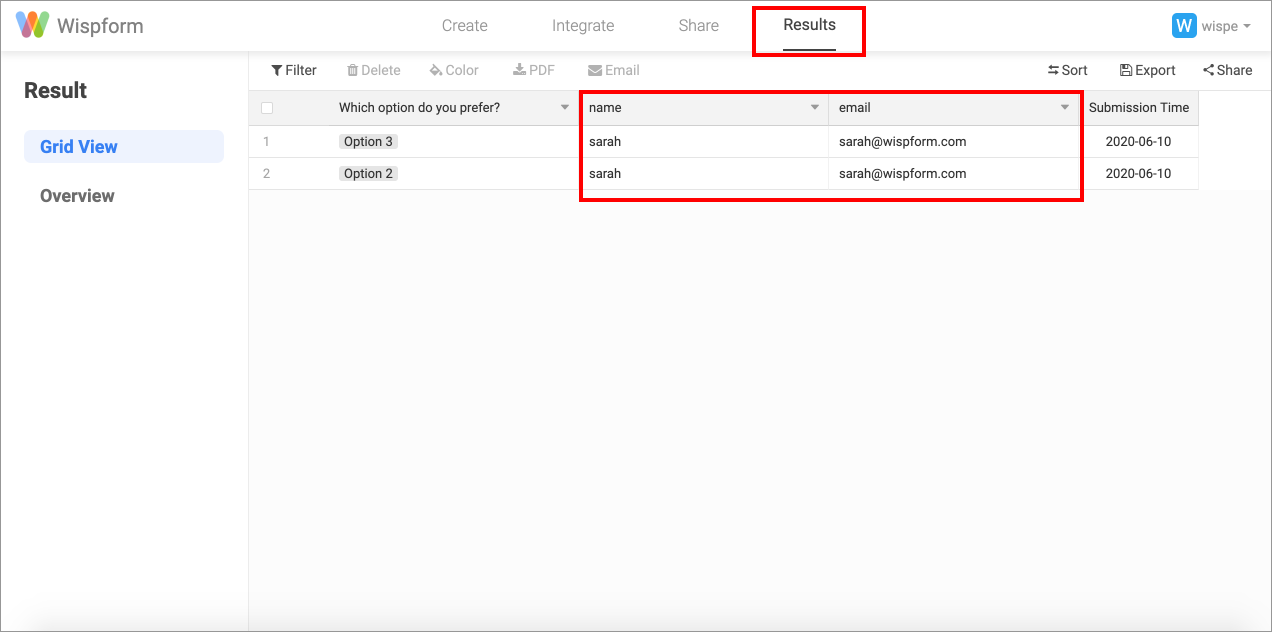
Step 6: View the results
Once your responder have completed the responses, they can find the values to the hidden field in their response. In the example below, there is only one question that Ryan and Sarah had to fill out ("Which option do you prefer?"). The other two were passed in through hidden fields in the URL.
Thanks for patiently going through this tutorial. If you are facing any issue or have any question, feel free to use the chat box on the bottom right corner of this page. We are always happy to hear from you!
Related Article