How to take payment in your form
There are many reasons for why you would want to take payment in your form. Whether it is because you are trying to create an order form that someone can use to buy a product/service or you want to create a donation form to collect donation, Wispform has you covered. By following our step by step guide below, you should have a payment form up in no time.
Accept payment is a paid feature. If you are on the basic tier, you will be prompted to upgrade to any of our paid plan starting at $10/month when you try to add a payment question.
Step 1: Create a payment question
Create a payment field or question by selecting the "+" on the bottom left corner of the form builder. Find and click on "payment" to create the question.

Step 2: Begin setting up your Stripe integration
If this is the first time taking payment, you will be prompted to setup or connect a Stripe account. This is actually a very simple process that will take you a few minute. By spending this time, you are making transactions, bank information and credit card numbers much more secure since Stripe processes transactions for millions of businesses. Click the "connect" button on this screen.

Step 3: Create and link your Stripe account
You will land on a page where you can either connect an existing Stripe account or create a new Stripe account. If you already have an account, login using the prompt in the top right corner. If you don't please fill out information as acurately as possible. If you do not have a registered business, you can still accept payment by choosing sole proprietor as your business type.

Step 4: Return to your form
Once you fill in your information, you will be redirected back to the account page for your Wispform account. Check that under 3rd party integration, you have Stripe marked as connected. You can now press the Wispform logo on the top left corner of the page to return to your dashboard and your particular form.

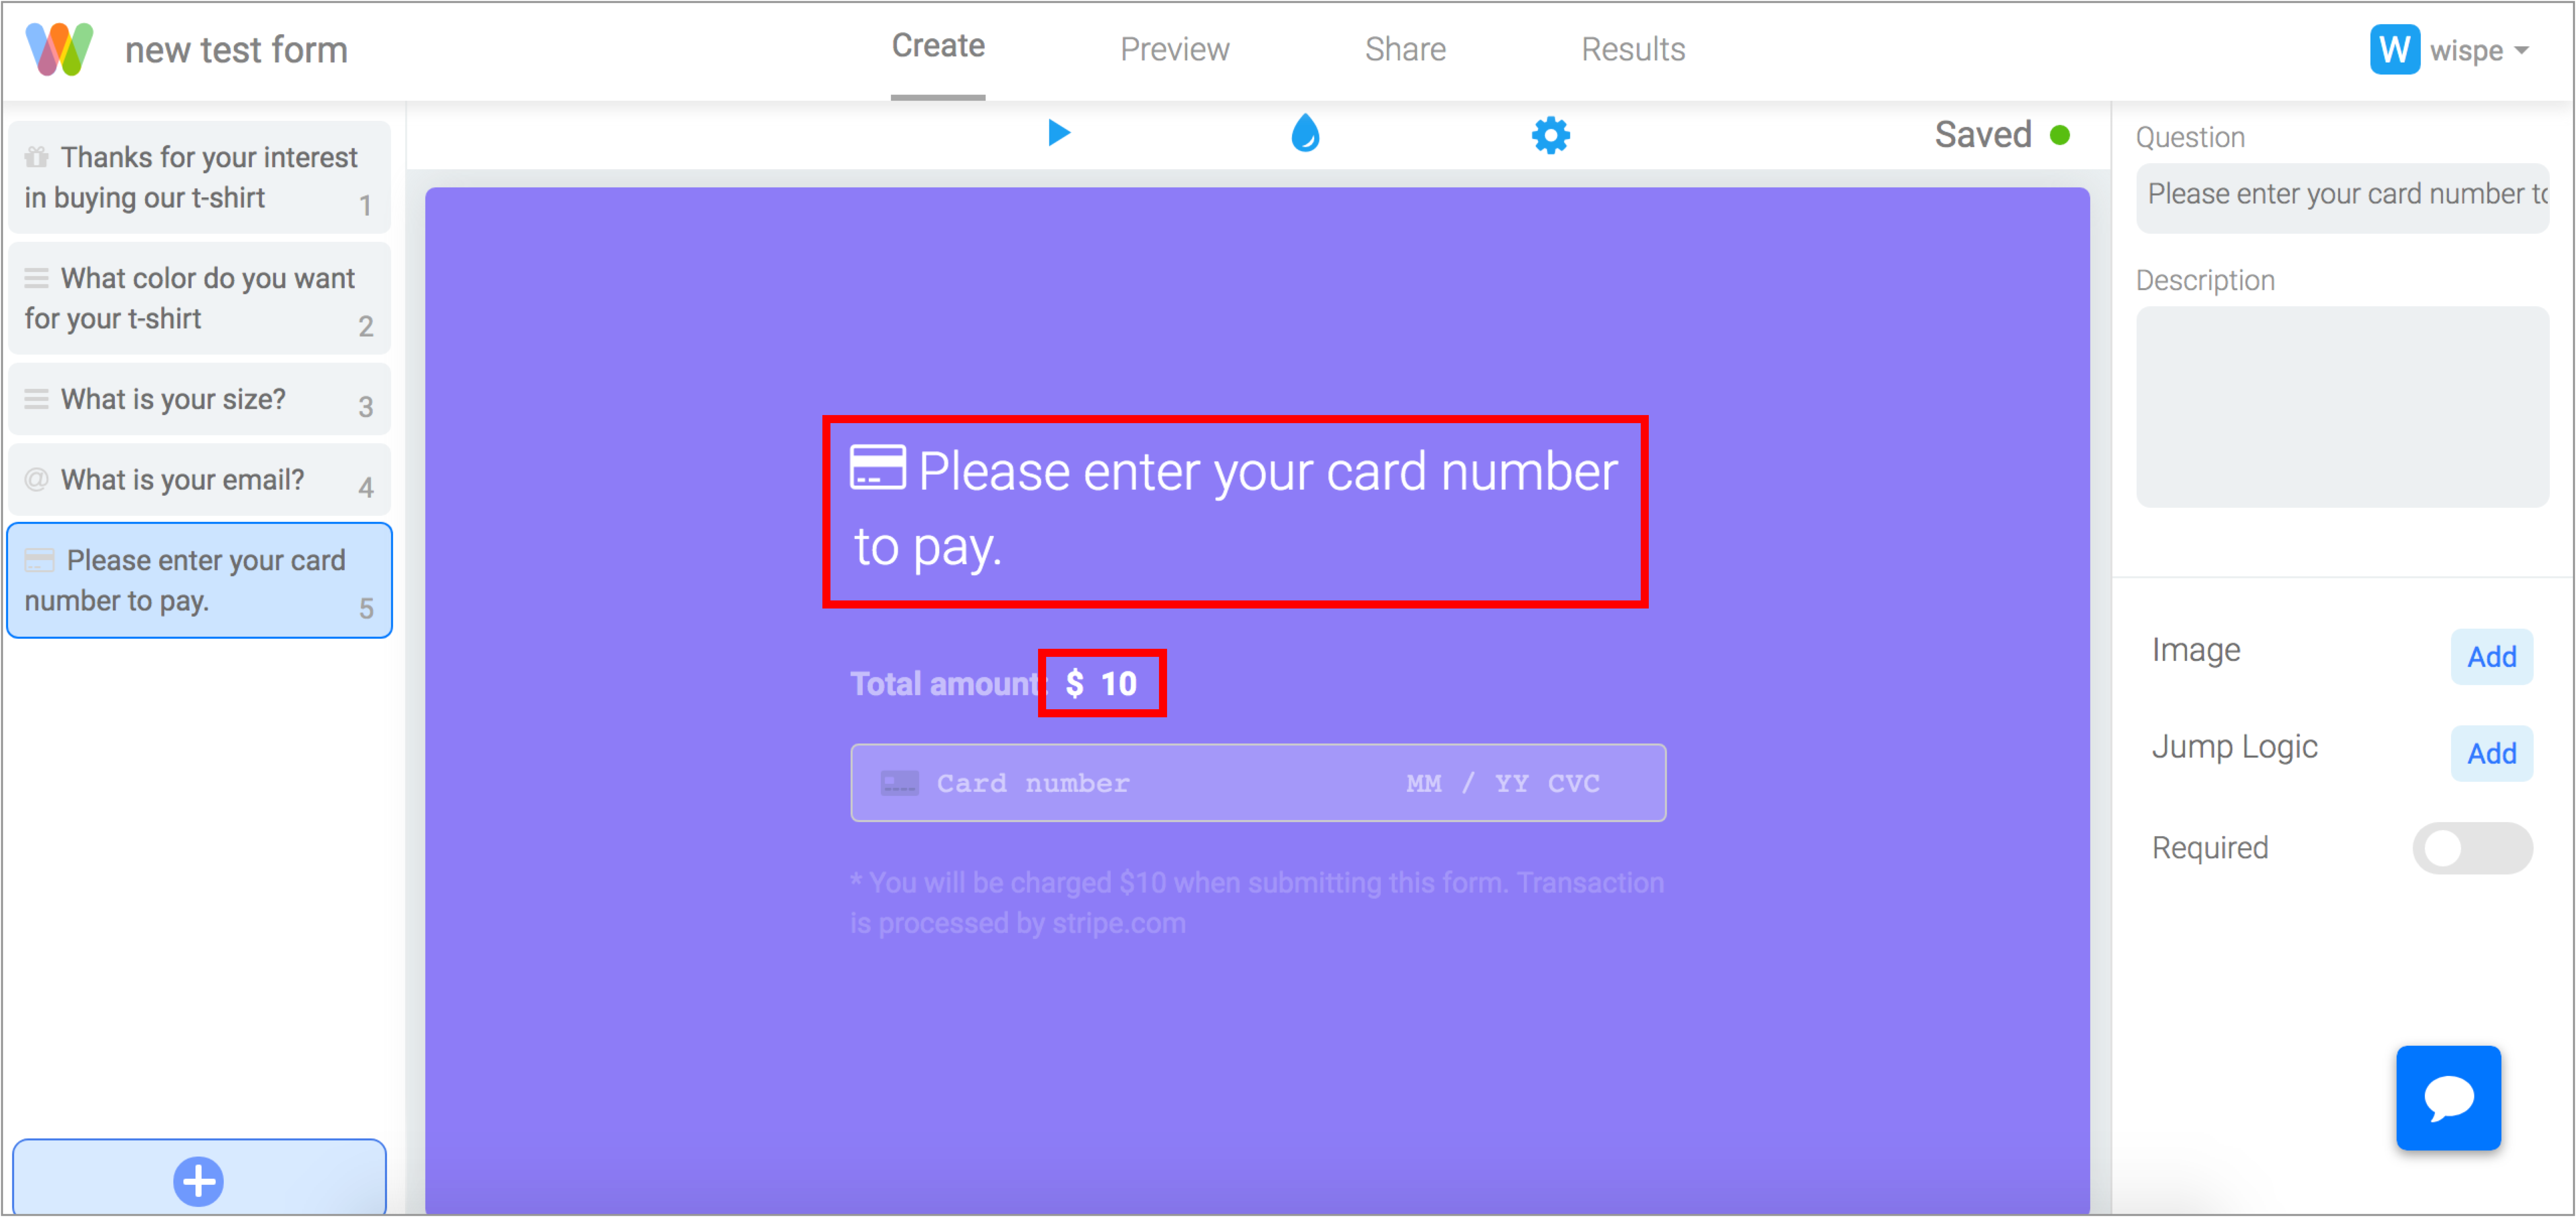
Step 5: Craft the payment question
You can now go back to your form and create that payment question. You will need to write some text telling your responder to add their card as well as specify how much money they will be charged.
Currently, the default payment currency is in USD. You can adjust the currency using the dropdown on the bottom right hand side. Supported currencies include EUR, GBP, AUD, NZD, CAD, MXN, BRL, SEK. If you have a currency that is not supported, please reach out via the chatbox or through [email protected] to get your currency whitelisted within 1-2 business days.
Hopefully, this article was helpful for you to get started with accepting payments in your forms. If you are facing any issue or have any question, feel free to use the chat box on the bottom right corner of this page. We are always happy to hear from you!