How to share and embed your form
In this tutorial, we will assume that you have already created a form and now want to share this with others and embed it into your website. Follow the instructions to embed your form onto your own website or share your form through URL or social media.
Step 1: Go to Share Page
From your form builder, select the share tab at the very top of the page.

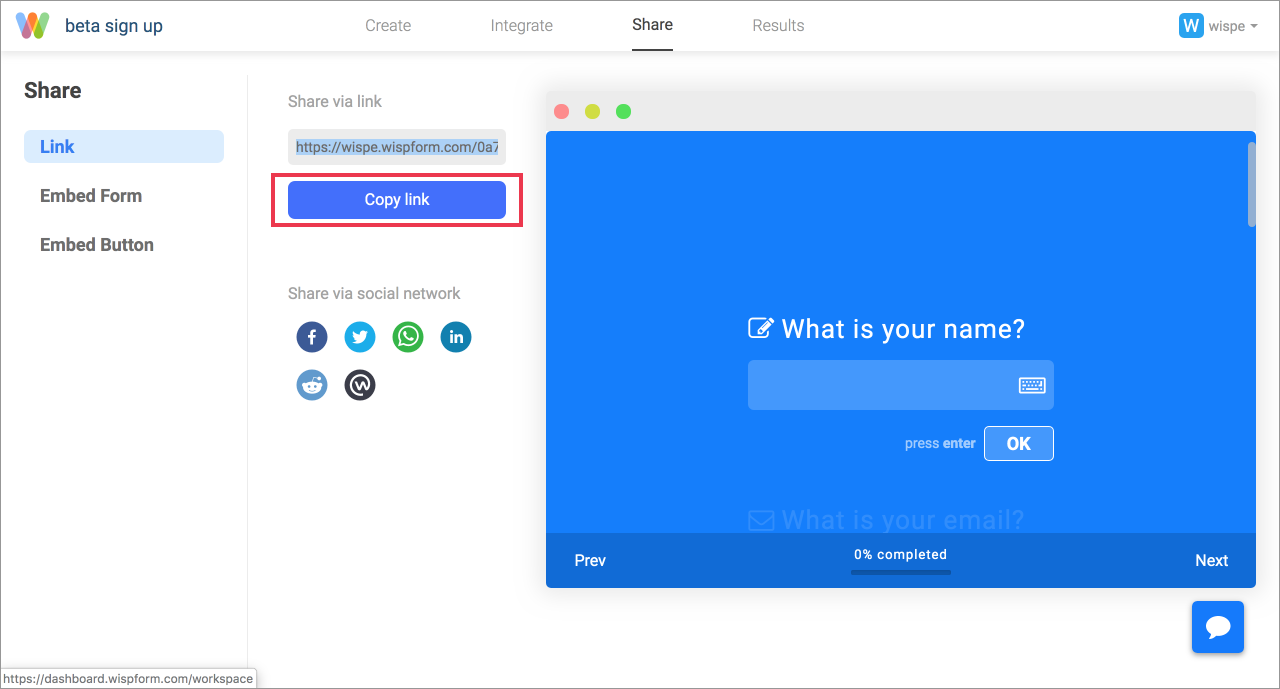
Step 2: Share your Form
By default you will land on the share form page. You can click the copy button to copy the url and send it to people for them to fill in. You could also use the social media buttons to share directly to the social media platform of your choice.
Step 3: Embed your Form
If you click the "Embed Form" tab under the "link" tab, you will have the chance to create a set of html code to embed your wispform as an iFrame onto your website. Use the dropdown in this case to change the dimension of the embed whether you want to use pixel, percentage of screen, or percentage of container. Then click the Get Code button.

Step 4: Get code
You can now copy and paste the code into your editor to be displayed on your website!

Step 5: Button embed
Instead of embedding the form on to your website, you could also embed a button on to your website. This method is better when it comes to capatibility on mobile. Select the "Embed Button" tab on the right, customize the text in the button and then get the code. When users click on this button on your website, it will open up a popup with the form for them to fill in.
 Hopefully, this article helped you understand how to share and embed your form. If you are facing any issue or have any question, feel free to use the chat box on the bottom right corner of this page. We are always happy to hear from you!
Related Articles
From your form builder, select the share tab at the very top of the page.
Step 2: Share your Form
By default you will land on the share form page. You can click the copy button to copy the url and send it to people for them to fill in. You could also use the social media buttons to share directly to the social media platform of your choice.
Step 3: Embed your Form
If you click the "Embed Form" tab under the "link" tab, you will have the chance to create a set of html code to embed your wispform as an iFrame onto your website. Use the dropdown in this case to change the dimension of the embed whether you want to use pixel, percentage of screen, or percentage of container. Then click the Get Code button.
Step 4: Get code
You can now copy and paste the code into your editor to be displayed on your website!
Step 5: Button embed
Instead of embedding the form on to your website, you could also embed a button on to your website. This method is better when it comes to capatibility on mobile. Select the "Embed Button" tab on the right, customize the text in the button and then get the code. When users click on this button on your website, it will open up a popup with the form for them to fill in.
Hopefully, this article helped you understand how to share and embed your form. If you are facing any issue or have any question, feel free to use the chat box on the bottom right corner of this page. We are always happy to hear from you!
Related Articles
Instead of embedding the form on to your website, you could also embed a button on to your website. This method is better when it comes to capatibility on mobile. Select the "Embed Button" tab on the right, customize the text in the button and then get the code. When users click on this button on your website, it will open up a popup with the form for them to fill in.
Hopefully, this article helped you understand how to share and embed your form. If you are facing any issue or have any question, feel free to use the chat box on the bottom right corner of this page. We are always happy to hear from you!