Tips and tricks to design your online form
Increase your response rate by delivering an exceptional experience
One of the main reasons customers choose Wispform is because we offer a unique design that is fully customizable. Instead of having your responders enter their data on another boring Google Form, we want to help you make your forms as beautiful as possible. This will not only leave a lasting impression on your responders but also skyrocket your response rates. Based on extensive testing, we have found that forms with better design can bring response rates up by over 60%.
Once you have followed our other guides to create your basic forms, use the following tips to customize it so that it is unique and memorable for your responders.
Tip 1: Choose a beautiful color scheme or use Wispform's built in themes
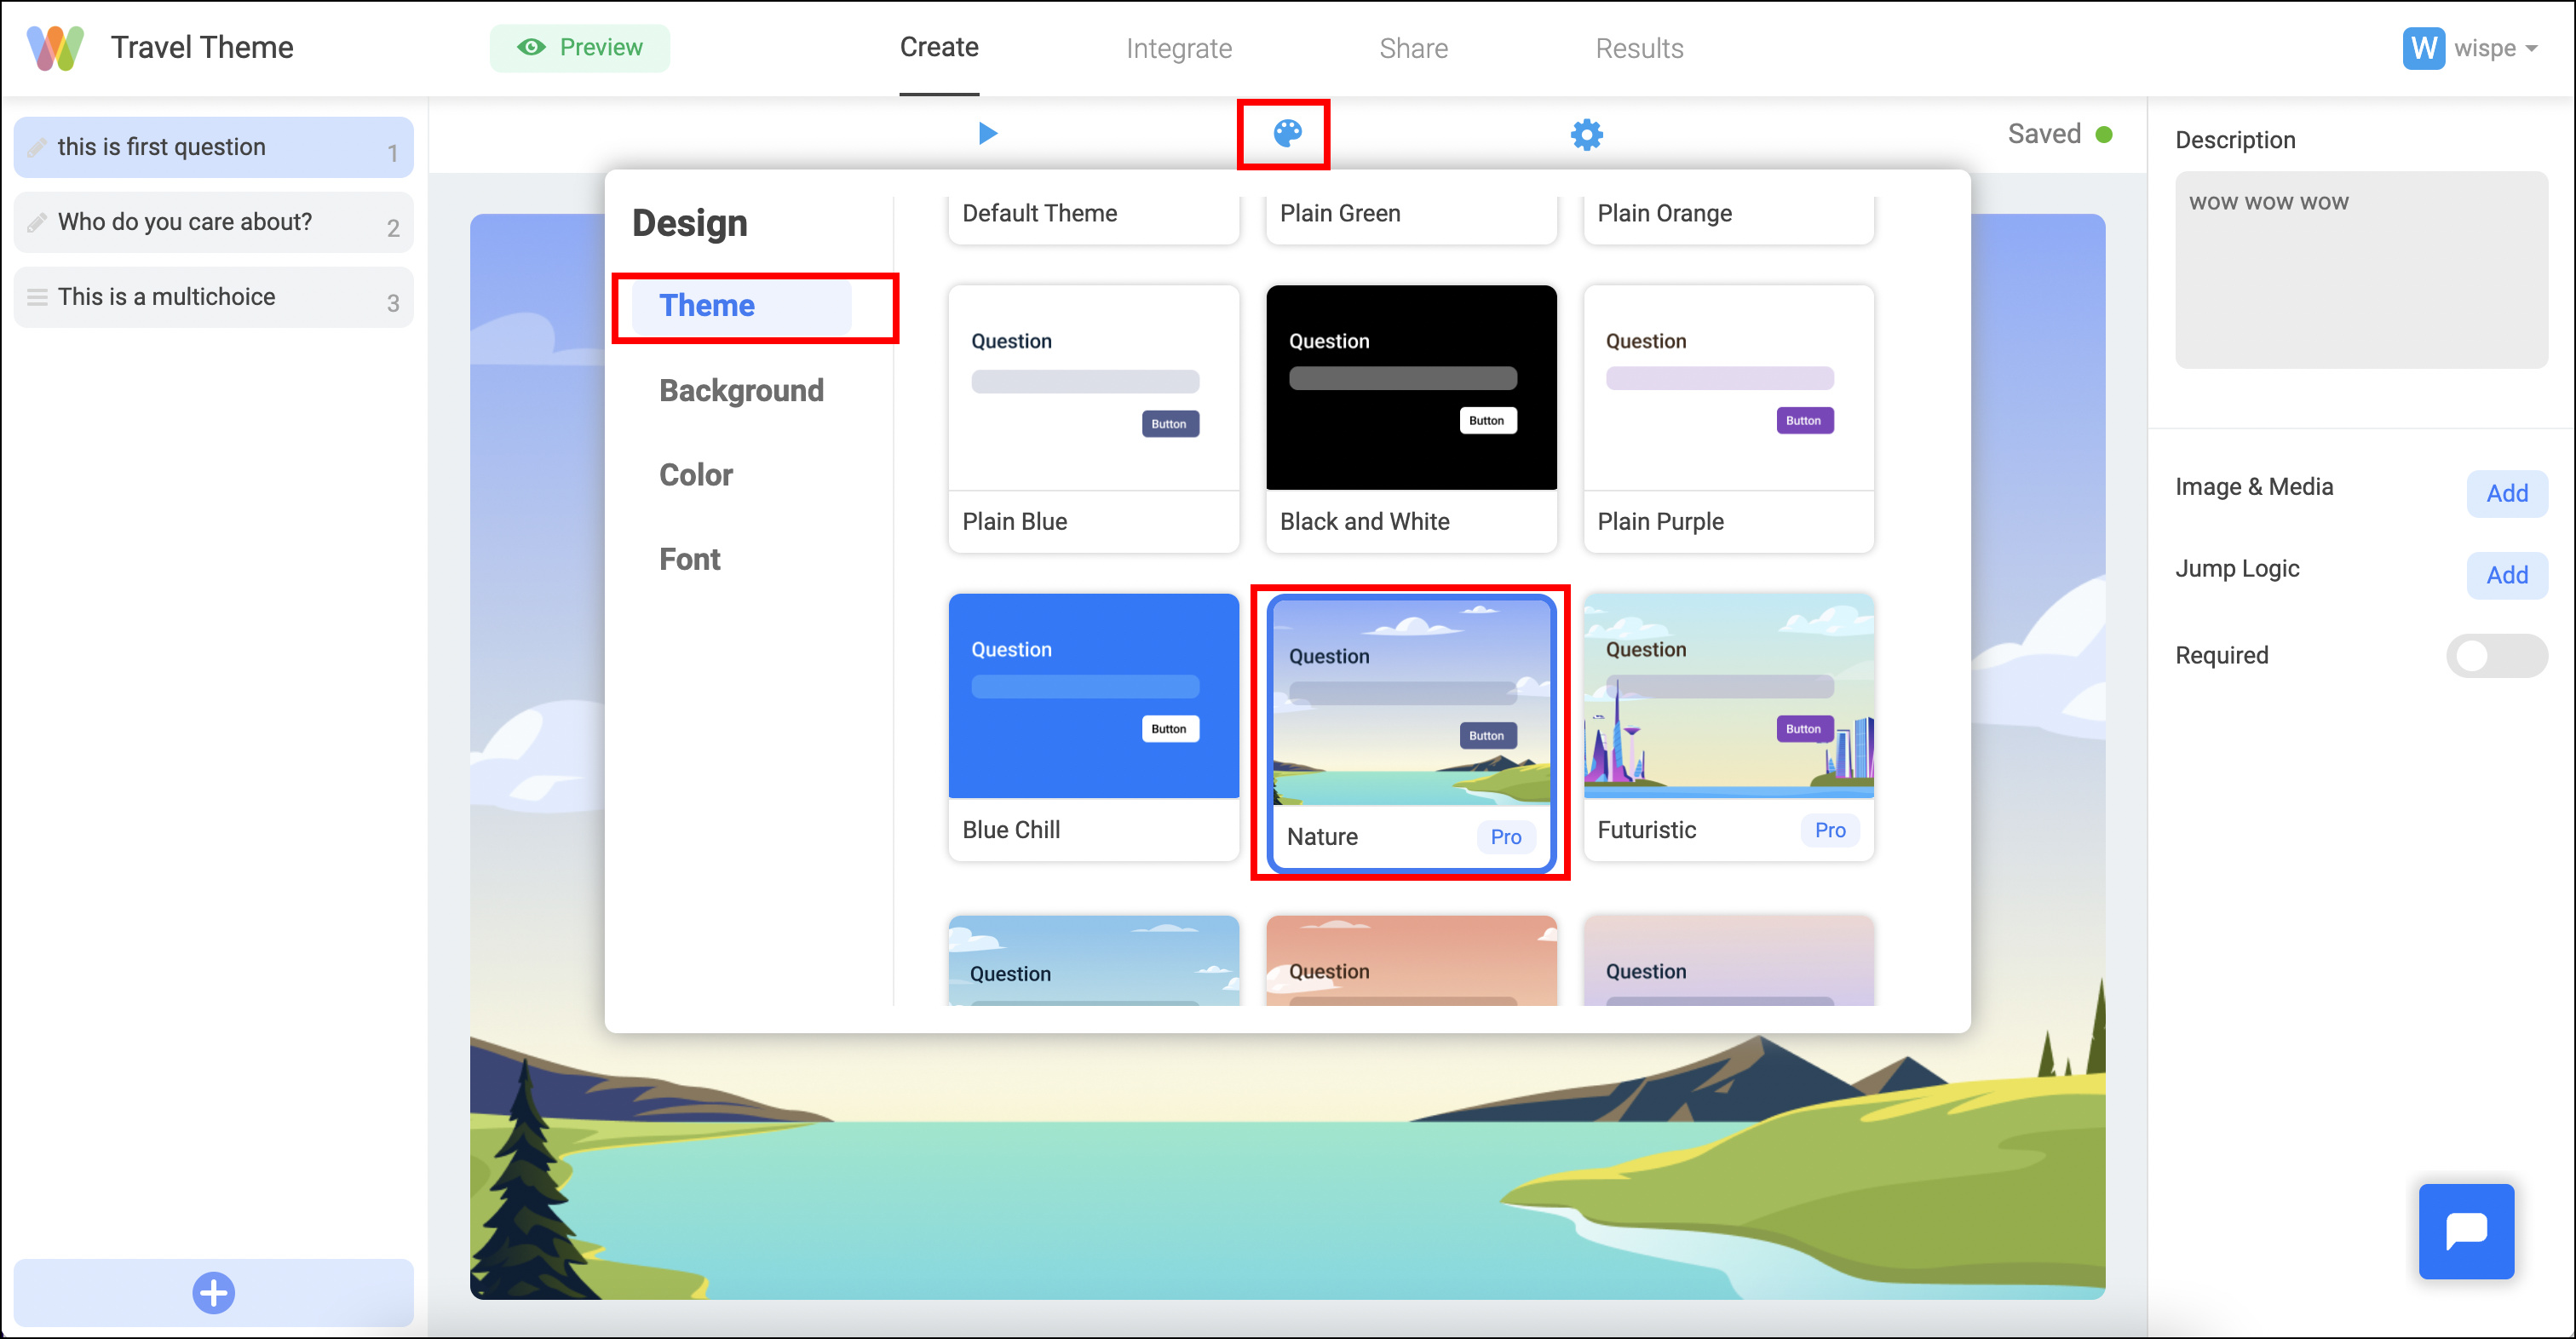
The most important part of a successful form is to pick a color scheme. On Wispform, the design configurations include background, text color, answer color, and button color. To make it easy, Wispform comes with pre-built themes that you can choose from.

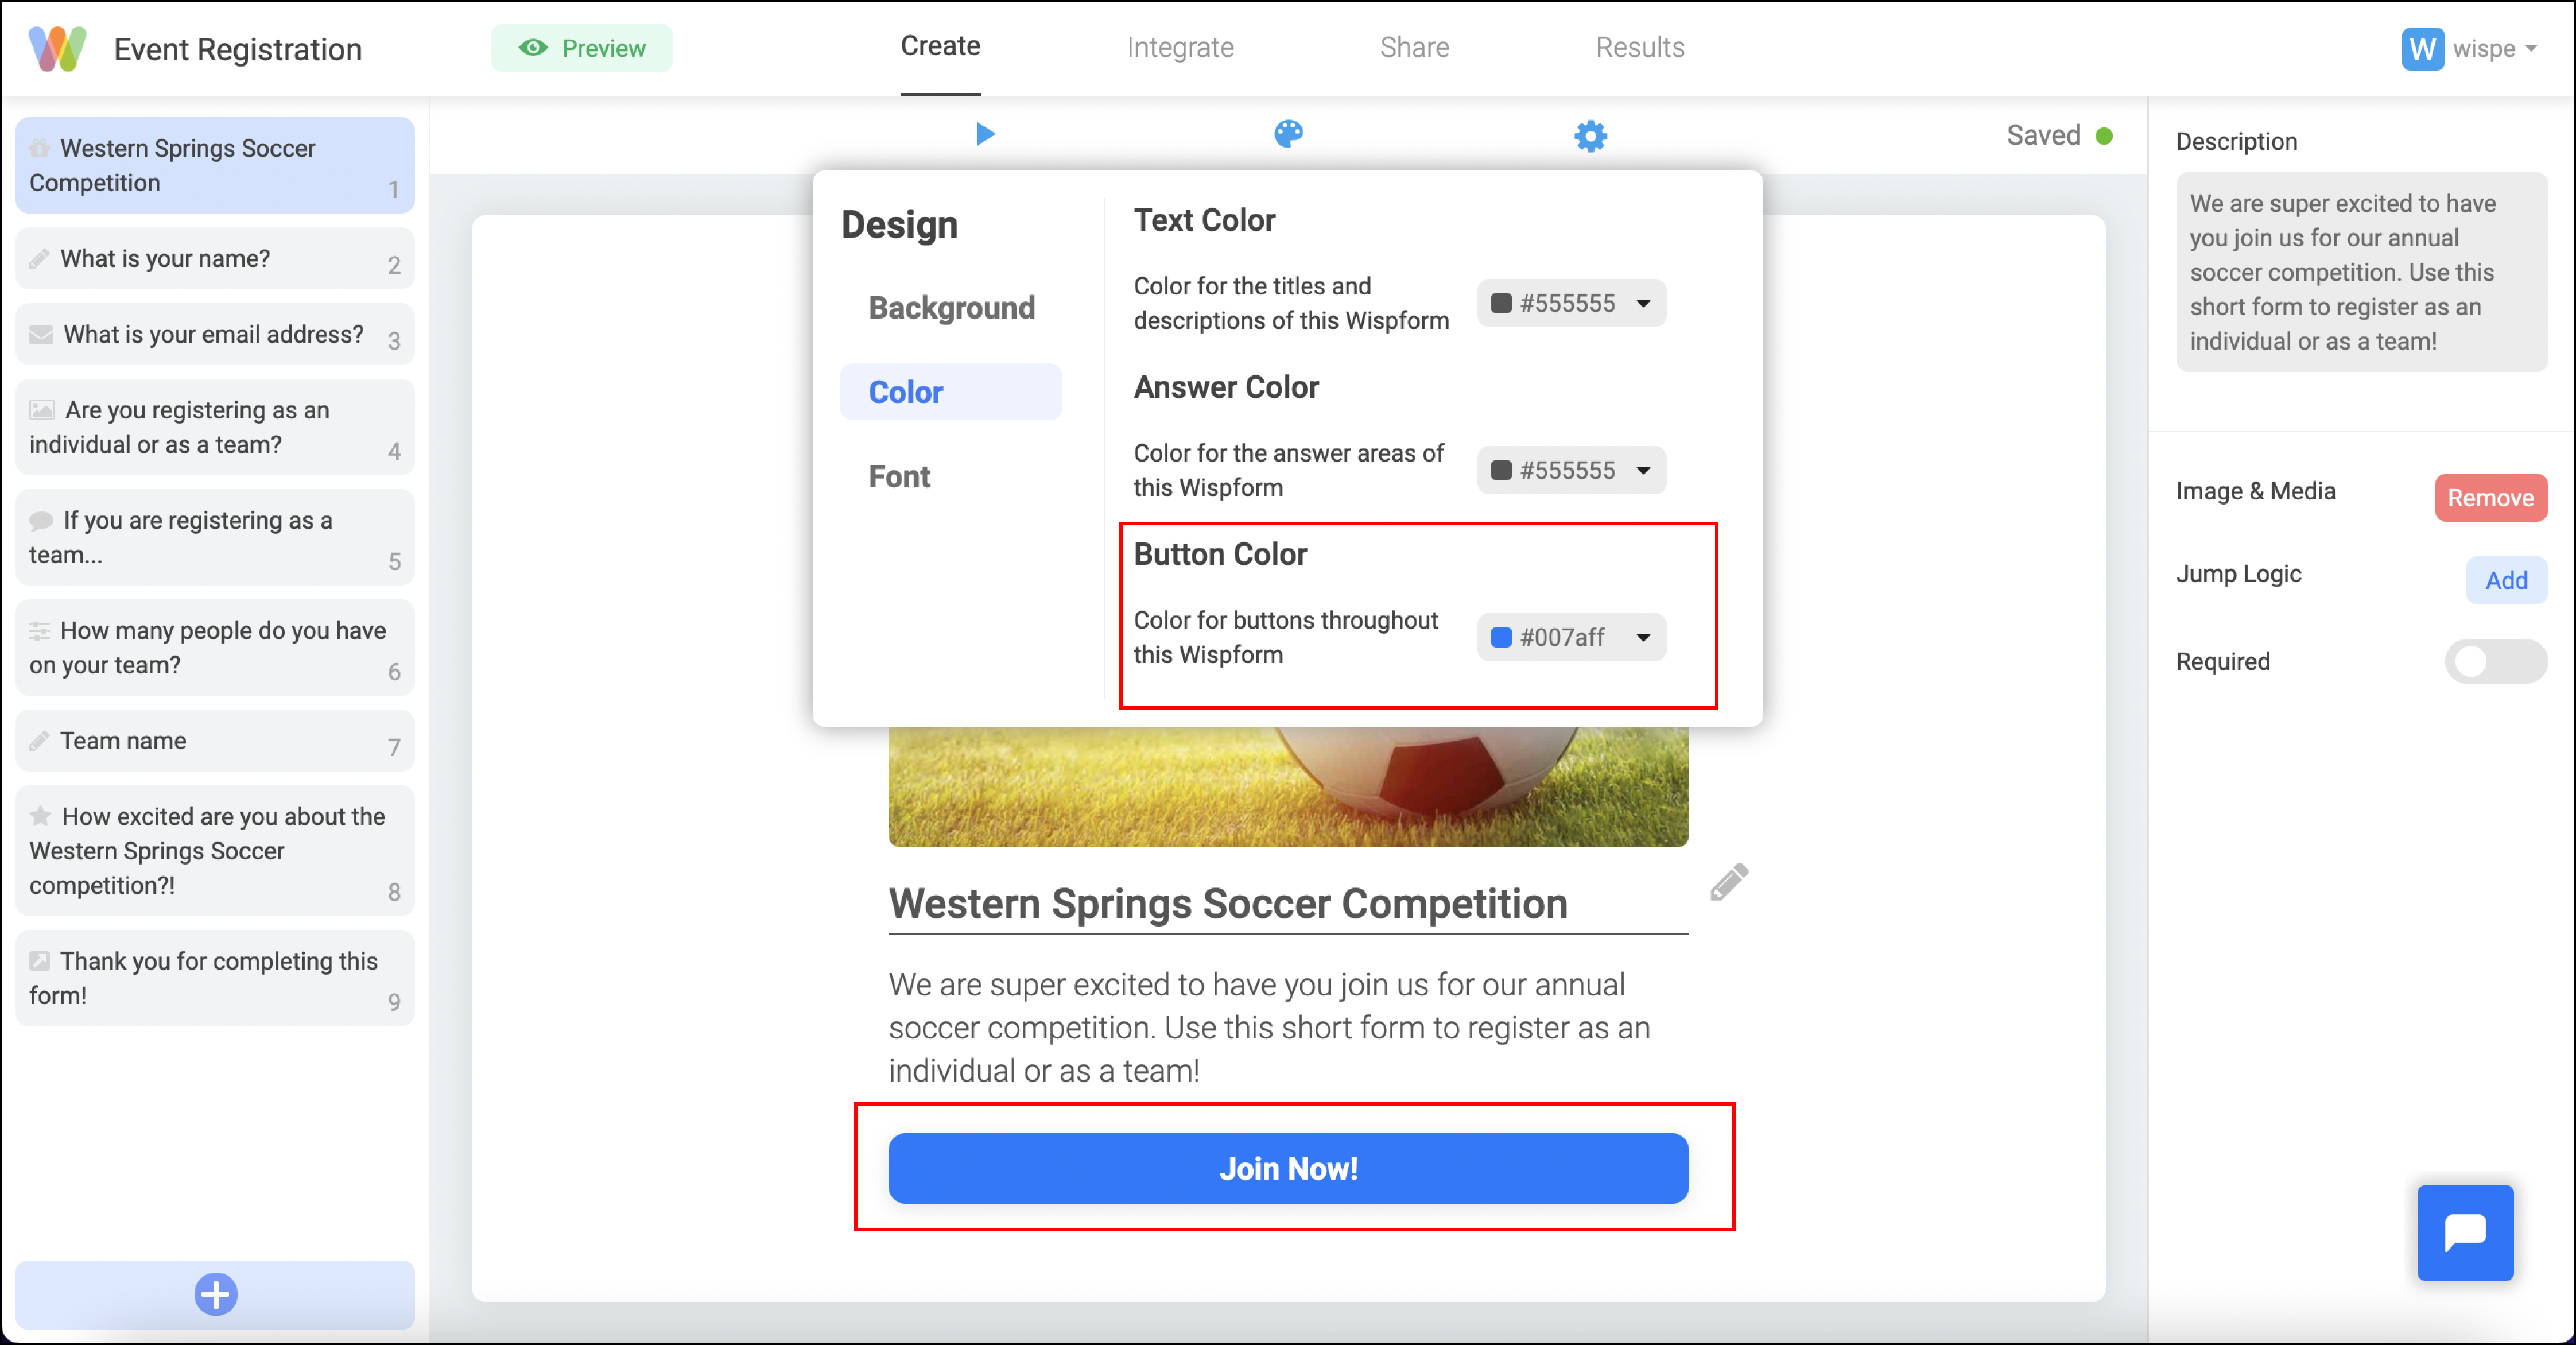
However, default themes might not offer all the customization you wish. Many of our customers choose to specify specific colors and background colors/images for their forms. This is especially the case if you have a business that already has a brand and a color scheme. You can use the drop downs below to choose a color or enter in your own color hex code for the full range of colors. If you need help finding a hex code to enter into the design setting, you can use tools like https://www.hexcolortool.com/#32766c to find the 6 character hex code to paste into Wispform.
When picking the color, it is critical that you pick contrasting colors for your text/answer/button and your background. If you have a dark background, try to make your text and button colors as bright as possible. If you have a lighter background, you should try to make your text and button colors as dark as possible. You can also use the toggle on the background setting to adjust the brightness in order to find the right balance.

Tip 2: Pick a unique font
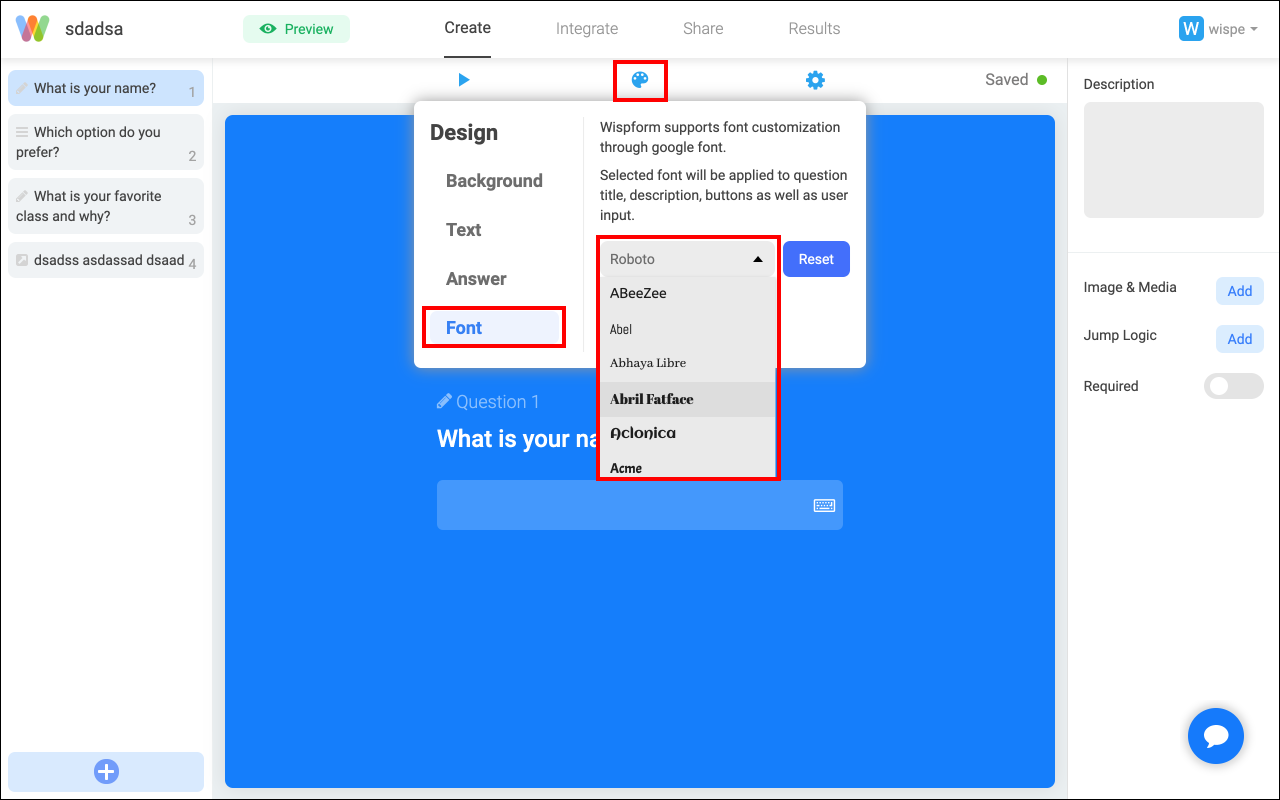
Wispform integrates with Google Fonts to bring a huge collection of fonts into your form. Although our default font is great for common scenarios, you might want to make your font thinner, thicker, more serious, or more playful based on what your form is used for. If you are building a fun quiz, you might want to use something casual like "Comfortaa". On the other hand, if you are looking for something more professional, you can try "Source Sans Pro".

Tip 3: Add images or videos on each question to capture your responders attention
A picture is worth a thousand word. Instead of writing long questions and descriptions, try to include images on your questions so that they keep your responders engaged. For the best experience, try to make your images width longer than its height so that the question box does not get pushed down too much.
Some of our customers found a lot of success by incorporating the question into the image itself. That way, responders feel like they are in a digital experience rather than filling in a form.

Tip 4: Add your logo to your form
If you have a square-shaped logo or image, you can elect to upload it in the form's setting. This unique image will replace the loading Wispform logo your responder will see. It will also appear on the top left corner of your Welcome and Thank You pages. Most Wispform customers who have a logo elect to upload it because it quickly makes your form unique to your business.

Thanks for checking out this quick tutorial on how to make your forms beautiful and engaging. With the tips above, you should be able to deliver a memorable experience for your responder. We also encourage you to do some experimentation. Using different colors and images might give you different response rates. Over time, you should be able to find the best design and style for maximum response rate!
